
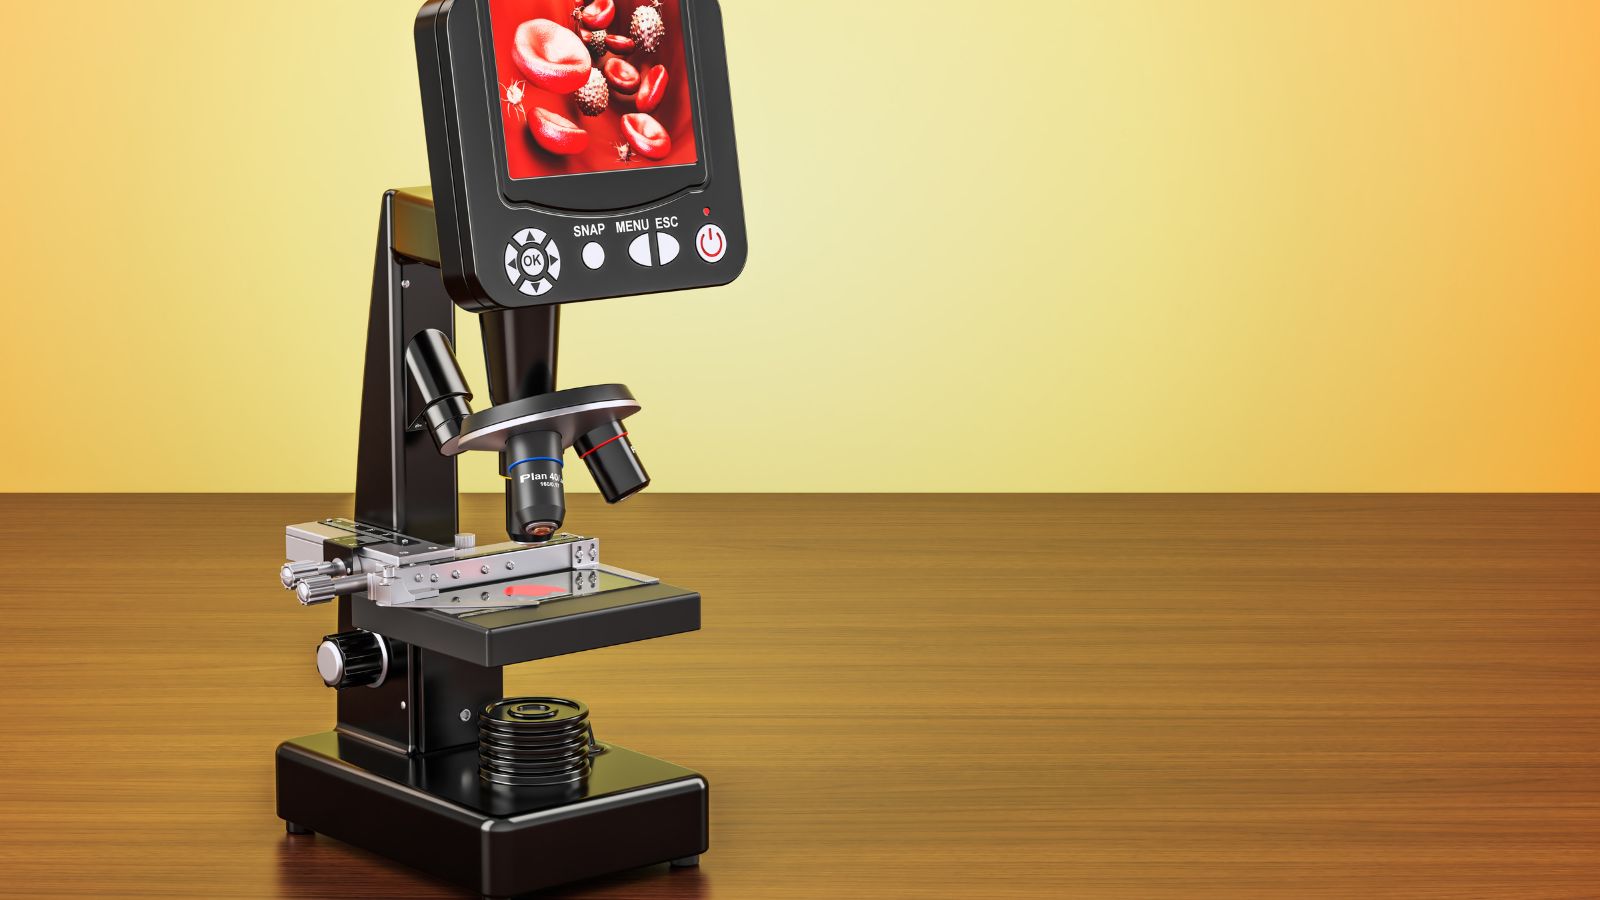
The first look through a cheap USB scope is usually a brown smear. The box promised hundreds of times life-size, the sample is a leaf, and what appears on the laptop is a blur with a bright hot spot in the middle. Nothing is broken. A digital microscope produces exactly that image when the light, the working distance and the sensor are fighting each other, and all three are adjustable before anyone decides the instrument is a dud. Anyone shopping for a digital microscope for kids is really shopping for those three things rather than for the headline number.
The headline number is the least informative figure printed on the box.
Magnification on a digital instrument is not a fixed property, because the image is drawn on a display. The same optics quoted at one figure on a laptop are quoted at another on a classroom projector, and neither figure is a lie. What does not change with the screen is resolution, meaning the amount of real detail the optics and the sensor captured before anything was enlarged.
Handheld Digital Microscope: Working Distance Is the Whole Trick
A handheld digital microscope is a barrel holding a lens, a ring of LEDs and a focus wheel, and it is held against or just above whatever is being examined. Working distance is the gap at which the sample snaps into focus, and at the top of the magnification range that gap is very small. Two things follow from it. The first is that high magnification effectively requires a stand, because a hand held at arm’s length drifts further than the focus will tolerate. The second is that the LED ring sits close to the sample and blows out anything shiny, which is why a coin or a circuit board looks better lit from the side than head on. Turning the built-in lights down and adding a desk lamp at an angle is the standard fix, and it costs nothing.
Depth of field also shrinks as magnification rises, so a surface that is not flat will never be entirely sharp at once.
- A stand or clamp, even an improvised one, is the difference between a usable image and a wobble. The plastic stand in the box is worth keeping for that reason alone.
- A polarizing filter or cap tames reflections on metal, plastic and anything wet, which covers most of what a child wants to look at first.
- A calibration slide or a ruler makes on-screen measurement mean something, since without one the software’s figures are arbitrary.
Kids Digital Microscope: What Makes One Usable Without an Adult
The specification that matters most for a child is not optical at all. A kids digital microscope has to focus without a delicate touch, sit still on a table and show something recognizable inside the first minute, because a child who sees nothing on the first attempt rarely asks for a second. Chunky focus wheels beat fine-threaded ones. A model with its own built-in screen removes the computer from the equation, which matters more than it sounds like it should, since a good share of setup failures are drivers, cables and software rather than optics.
Sample choice does most of the work at the start. Anything with visible structure at low magnification beats a prepared slide as a first look: a printed photograph resolves into colored dots, a banknote gives up the fine print hidden in its pattern, and a scrap of woven fabric turns into rope.
Start low and work up, never the other way round.
Digital Microscope Imager: Sensor, Pixels and What They Buy
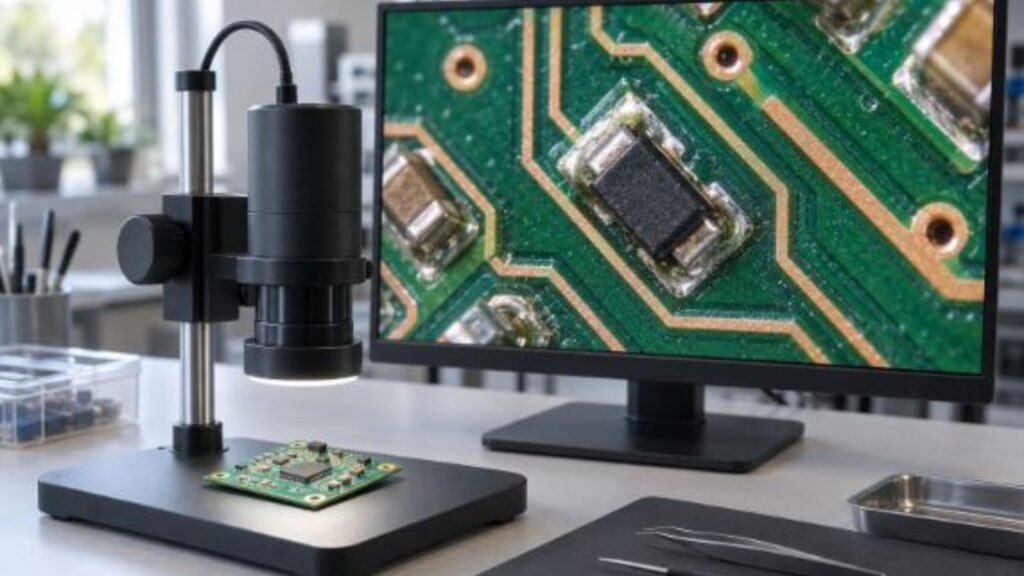
The digital microscope imager is the camera sensor behind the lens, and its specification is quoted in megapixels for the same reason phones quote them, which is that the figure is easy to print and easy to compare. Pixels decide how finely the incoming image is sampled, but they cannot recover detail the optics never delivered. A high pixel count in front of modest glass produces a large, smooth photograph of a blur. Frame rate is worth as much in daily use, because a live view that updates smoothly makes focusing feel direct, while a stuttering one turns it into guesswork. Quoted figures repay a close reading, since a sensor is sometimes described by the size of the image it outputs after software enlargement rather than by what it actually recorded.
Between two units at the same price, the one with the better lens and the plainer sensor will show more.
- Focus on printed text at the lowest setting and look at the letter edges, because edges that are soft here will not sharpen further up.
- Move to a flat matte surface such as paper fiber and confirm the illumination is even rather than bright in the center and dark at the rim.
- Only then try the highest magnification, and try it on something you have already seen clearly at a lower one.
Microscope Digital Output: Stills, Video and the Class Screen
Every workflow ends in a file, and the bundled software decides whether that file is useful. Capture of stills and video is standard. Annotation, on-screen measurement and side-by-side comparison are not, and they are what turn a look into a piece of work. For a classroom, sending the live view to a projector or a shared display changes the activity from one child looking to a room arguing about what they are seeing, which is also the simplest way to run a first lesson with a single instrument.
Three questions about the software are worth asking before the purchase rather than after it. The first is what it runs on, because a Windows-only utility is a problem in a room of tablets while browser-based capture sidesteps the question. The second is whether video records at a usable frame rate, since jerky clips are the ones nobody bothers to share. The third is the export format, because proprietary files that open only in the bundled viewer are effectively unshareable, and a saved observation that cannot leave the machine it was made on is not much of a record.
Saving images turns observation into a record. A leaf photographed weekly, a crystal as it grows or the same patch of pond water over a fortnight will only support comparison if the files are named and kept somewhere findable.
A first session works best in a fixed order: something printed, something woven, something living. Each step raises the magnification once and confirms the child can find focus before the target gets harder. By the third sample the instrument has stopped being the subject of the lesson, which is the point at which it is finally doing its job.